The eSIM QR Code Explained: What Is Actually Inside
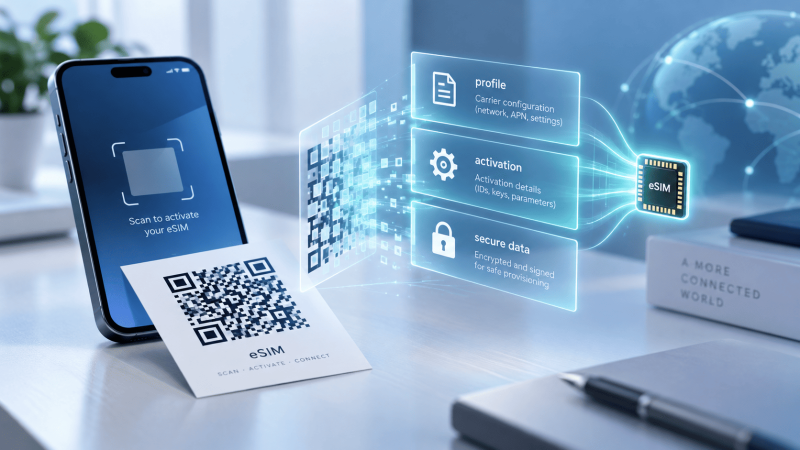
You bought a plan, or ordered a travel data package, and the carrier emailed a square to scan. There is usually a warning next to it saying the code can be used only once, and very little explanation of what that means or what to do if the install fails halfway. The code is not a magic key. It is an address and a reference number, printed as a pattern.
What the code actually contains
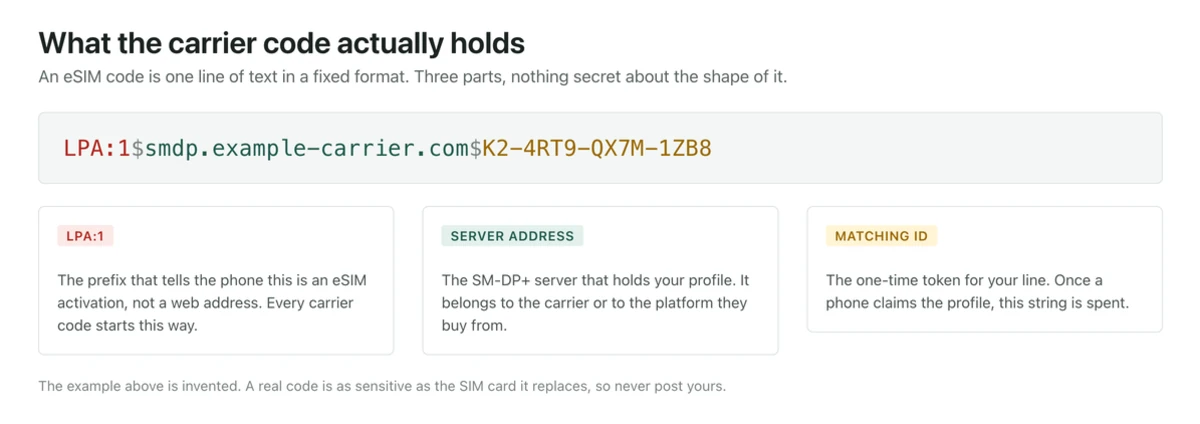
Scan a carrier eSIM code with an ordinary reader instead of the phone settings and you get a line of text that looks roughly like this:
LPA:1$smdp.example-carrier.com$K2-4RT9X-8QLM0
That is the whole payload. No profile, no phone number, no account data. Three parts separated by dollar signs.
| Part | What it is |
|---|---|
| LPA:1 | A marker telling the phone this string is an eSIM activation code rather than a link. LPA stands for Local Profile Assistant, the software on the phone that handles eSIM downloads. |
| smdp.example-carrier.com | The address of the SM-DP+ server, the machine at the carrier that holds prepared subscriber profiles and hands them out. |
| K2-4RT9X-8QLM0 | The matching ID: a one-time reference that tells the server which prepared profile is yours. |
Some carriers add a fourth element flagging that a confirmation code is required. That is the separate short PIN you are sometimes asked for during install, sent in the same email or shown in the account portal.
So the sequence is: the phone reads the string, connects over the internet to the SM-DP+ address, presents the matching ID, and downloads the profile that has been sitting there waiting. The actual SIM data, the identifiers and keys that would have been on a plastic card, travels over that connection and lands in a secure chip on the phone. The QR code is only the pointer.
Why it works exactly once
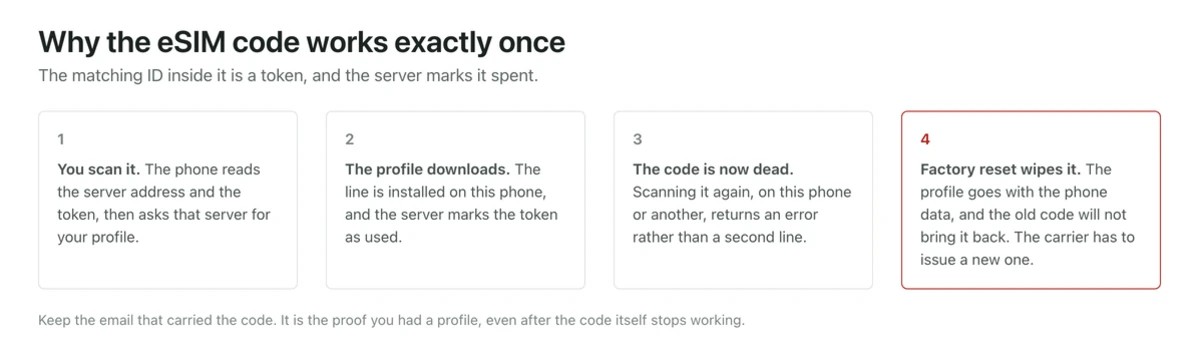
The matching ID identifies one prepared profile. When the download completes, the server marks that profile as issued and the reference stops working. This is deliberate, and it is the same reason you cannot photocopy a SIM card. Two phones sharing one subscriber identity would be a serious problem, so the profile is released once.
Scan it a second time and you get a failure rather than a second line. On an iPhone it usually reads along the lines of the plan not being available or the code no longer being valid; on Android the wording varies by manufacturer, but the outcome is the same. If the profile is already installed on your phone, that is the expected result and there is nothing to fix. Look in Settings for your cellular plans and you will find it already there.
What happens if you factory reset, or delete the eSIM
This is where people get caught out. Erasing the phone or deleting the eSIM plan removes the profile from the chip. The original QR code has already been consumed, so it will not reinstall it. You have to go back to the carrier and ask for the profile to be reissued, which produces a new code with a new matching ID.
Some carriers and travel eSIM providers let you do that yourself from the account page, sometimes a limited number of times. Others require support, and a few charge. None of that is visible from the code, so the rule is simple: before you reset a phone, sell it, or delete a plan you still need, check with the carrier how you get the profile back. Recent iPhones and Android handsets also offer a direct transfer during setup that moves an eSIM to a new phone with no code at all, worth trying first.
Installing without scanning
The scan is a convenience. Every eSIM install screen accepts the same details typed in, which is the answer when the code is on the phone that would have to scan it, when the printed copy is too small, or when the camera will not focus.
On iPhone, go to Settings, then Cellular or Mobile Service depending on your region, then Add eSIM. Choose to use a QR code, and on the scanning screen look for Enter Details Manually at the bottom. You get fields for the SM-DP+ address and the activation code, which is the matching ID, plus a confirmation code field if your carrier uses one.
On Android, open Settings, then Network and internet, then the plus button next to SIMs, and follow the option to download a SIM instead of inserting one. The scanning screen has a way to type the details in, worded differently by manufacturer: on Pixel it is behind a help link on the scan screen, and Samsung phones offer to enter the activation code manually. If you cannot find it, search your settings for eSIM and start there.
Type the parts separately: the server address goes in the address field without the LPA:1$ prefix, and the matching ID goes in the activation code field. Both are case sensitive, and hyphens matter. Copying and pasting from the email beats retyping.
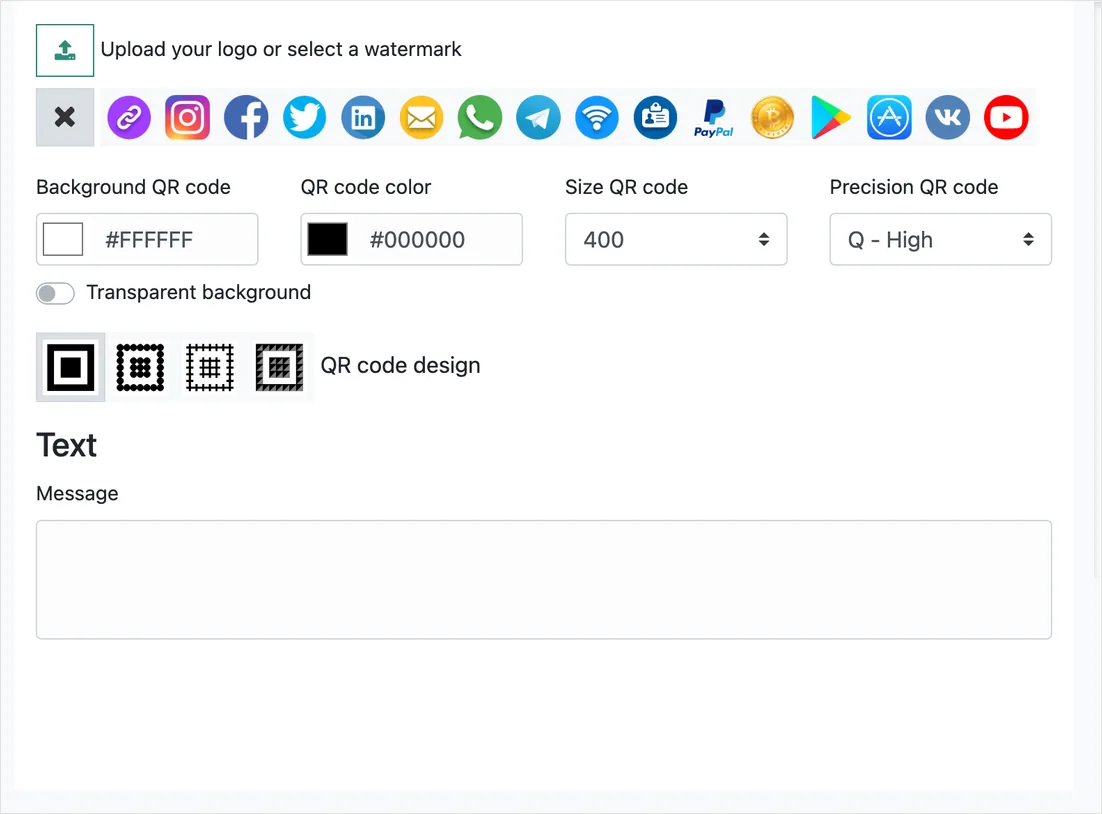
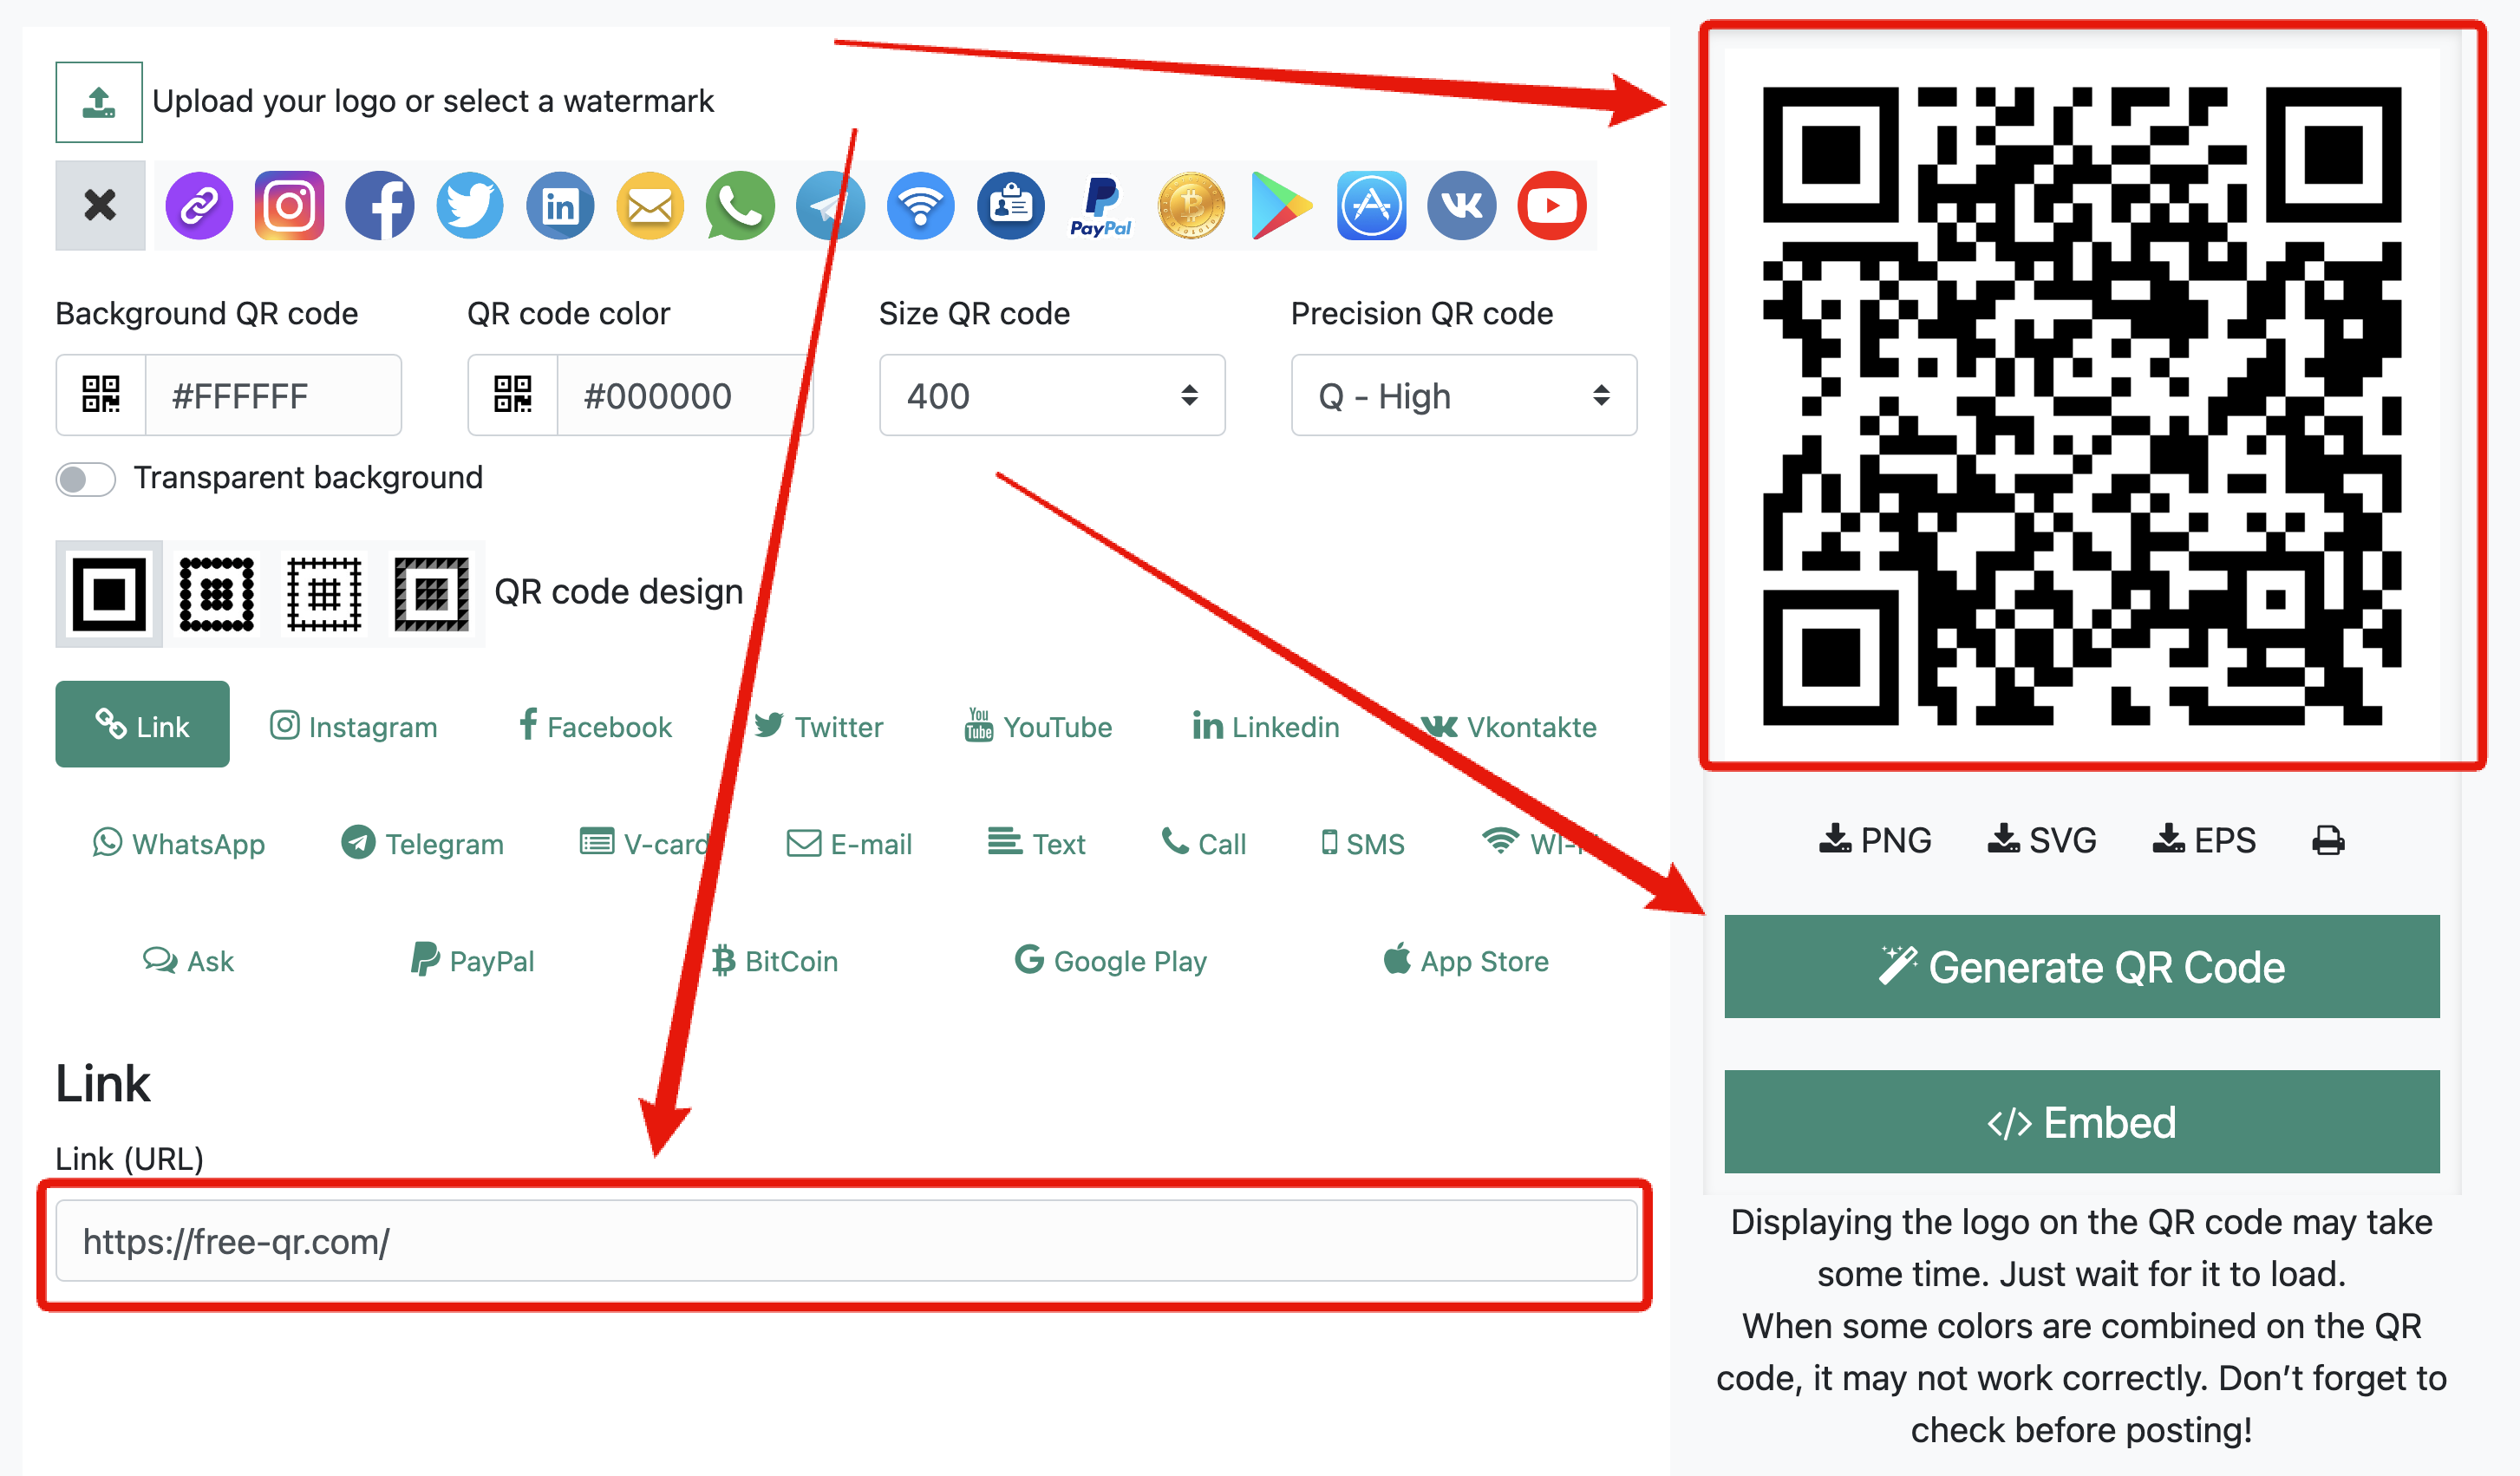
If you have the full LPA string as text and need to scan it on a different device, you can encode that text into a plain text QR code yourself. It produces exactly the same square the carrier would send, because the string is all a carrier code contains. To be clear about what that does and does not do: it makes a readable code out of a string you already own. It does not create a profile, and it does not give you service. If you do not have a valid, unused activation string, no generator anywhere can conjure one.
Where the code comes from
Exact menus differ by company and change often, so treat this as categories rather than instructions for your specific provider.
- Major postpaid carriers. Usually emailed when the line is activated, and often available again in the account portal or the carrier app. Some prefer their own app flow and never show a code at all.
- Prepaid brands and smaller operators. Nearly always by email at purchase, occasionally as a printed card in a retail pack, with the code on a scratch panel or inside the packaging.
- Travel data eSIM providers. Delivered within minutes of payment, by email and in the provider app, which generally keeps the code available until you install it.
- Business and enterprise plans. Issued by whoever manages the account, frequently as a PDF with several codes in it, one per line.
In all cases the code came from the carrier server, which is the only place it can come from. A code that arrives from anyone else should be treated as suspicious.
Treat it like a SIM card, because it is one
A QR code is not encrypted and holds no secrets from anyone who photographs it. There is no password on the string, and anybody who can read the picture can read the activation code. Whoever installs the profile first gets the line, and you get an install failure and a conversation with support.
So: do not post it. Not in a forum thread asking why the install failed, not in a screenshot to a support group, not in a review, not in a photo of your desk. Blur or crop the code out before you send anything. A screenshot in your camera roll is as good as the SIM card itself.
Keep the email. Archive it rather than deleting it, because it holds the SM-DP+ address and the activation code in text form, which is what you need for manual entry if the scan fails.
Check the phone before you buy, too. The handset has to support eSIM and must not be carrier locked, and a locked phone will accept the profile from its own carrier and refuse others.
When the install fails
The failure messages are vague, so work by symptom.
The camera will not read the code at all. An ordinary scanning problem: the code may be too small, cropped into its white margin, or behind screen glare. Zoom the image on the other screen and get the whole code plus its margin in frame. Our guides to scanning on iPhone and scanning on Android cover the camera side, and manual entry skips the problem entirely.
The code reads but the phone says the plan is not available. Either the profile has already been downloaded, on this phone or another, or the carrier has not finished preparing it. Check your existing plans in settings first. If it is genuinely not there, the carrier has to reissue.
It stalls partway through the download. The phone needs a working internet connection to reach the SM-DP+ server, so a half-installed profile usually means the connection dropped. Get on stable Wi-Fi and retry. A repeatedly failing install is a support call, not something to keep hammering.
It installs and there is no service. The line may not be active yet, or the plan needs selecting for data in your settings. Restarting the phone after an eSIM install resolves more of these than it should.
Things people ask about eSIM codes
Can I make my own eSIM QR code?
Only in the sense of re-encoding an activation string you were given. The profile has to exist on a carrier server, and only the carrier can put it there. Our generator makes ordinary QR codes for links, text, Wi-Fi, and contact details. It does not create eSIM profiles and cannot give you a working mobile plan.
Can I use one eSIM code on two phones?
No. The matching ID releases one profile, once. Two devices on one plan requires a carrier feature such as a paired watch line, arranged on their side.
Is it safe to scan an eSIM code from a photo?
Yes, if the photo came from your carrier. The phone connects to the address in the string, and a genuine carrier address is where you want it going. What is unsafe is letting other people see the image.
Does deleting the eSIM cancel my plan?
No. The account stays open and the billing continues. You have removed the profile from this phone, which is why you then need the carrier to reissue it. Cancel a plan with the carrier, not by deleting it from settings.
What is the SM-DP+ address for my carrier?
It is whatever appears in your own activation email or account portal, and it is specific to the operator. Do not use an address you found in a forum or in a guide like this one; the example above is made up. The wrong address simply fails.
Comments are closed.